
One of the fun things that I've made is customized coasters. They're super easy, and look really nice (at least I think so!). Here is a little tutorial if you want to try to make them:
What you need:
- Four 4" tiles (I used travertine, because I like the holey texture of them)
- Four pieces of scrapbook paper, which coordinate with whatever theme you'd like to use
- Mod Podge
- Polyurethane
- A paintbrush or a foam brush
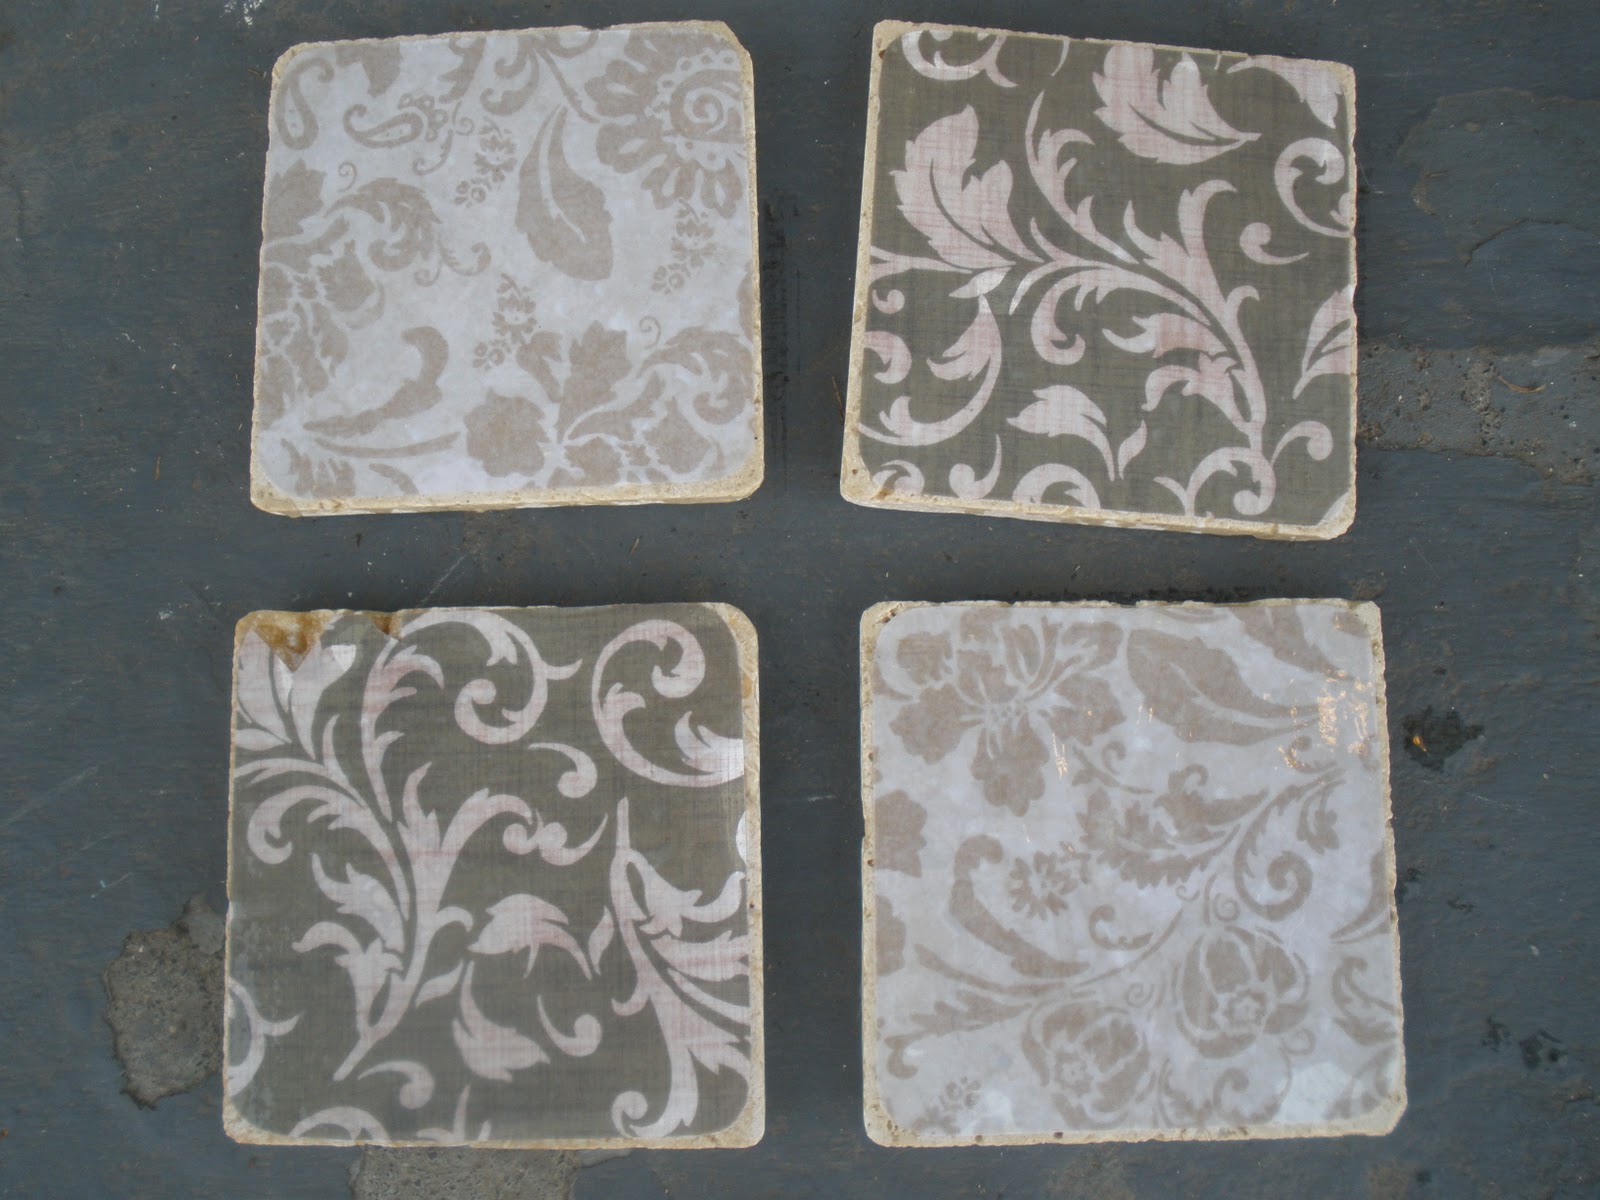
The first step is to choose your scrapbook papers. I like to have them all coordinate, and look matching. Here are some that I've used:


Once you've chosen your paper, wipe any dust off the tiles. They tend to be fairly dusty, and you want to get rid of it so that the paper will stick to the tile better. Next, you cut the scrapbook paper to fit the top of the tile. I usually trace one of the tiles onto the back of the paper, and then adjust so that each piece fits exactly. With the travertine, the edges aren't perfect, so you have to cut the paper to adjust for the little holes and dents.


Next, spread a thin layer of Mod Podge onto the top side of the tile.


Now you have a customized set of beautiful coasters! Enjoy!

**I have spilled water on mine a lot, and you can't even tell. I've been using them for two months and they still look brand new. That polyurethane really does the trick in protecting the paper.
This looks like a fun and easy project...where do you get polyurethane?
ReplyDeleteI got it at Home Depot. :) It is really easy!
ReplyDeleteCute!!
ReplyDeleteLove mine! Thanks, Tricia.
ReplyDeleteHello!
ReplyDeleteStopping by for the first time from Flamingo Toes. Sweet place you have here. I appreciated your testimony in your 'About Me' :)
Your coasters turned out beautiful. I have made similar ones (and posted) and they are really nice. I actually made a set for a bridal shower I attended today for a young woman I babysat for when she was just a baby.
So nice meeting you!
Kindly, Lorraine
Those are adorable!! I think I may have to make some :) They would make great gifts too.
ReplyDeletethese are so cute, i have way too many papers, will try this soon.
ReplyDeletewould luv for you to add it to our linking party this week.
http://www.passionatelyartistic.com/2011/03/orange-blossoms-with-linking-party.html
Thanks
Maggie